October 21,
2006
Check
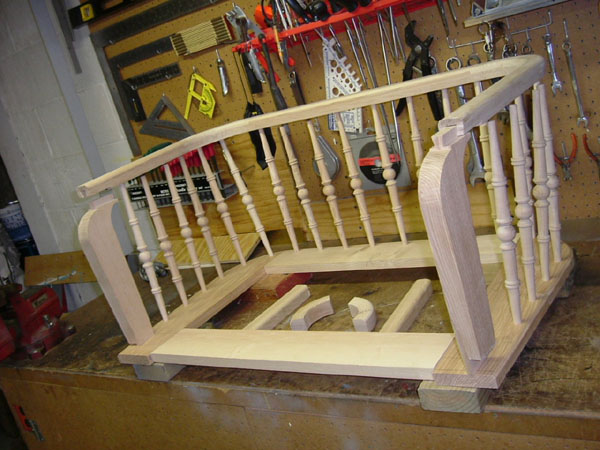
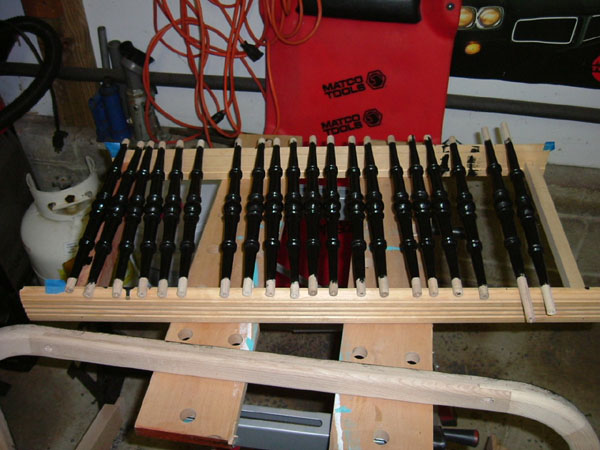
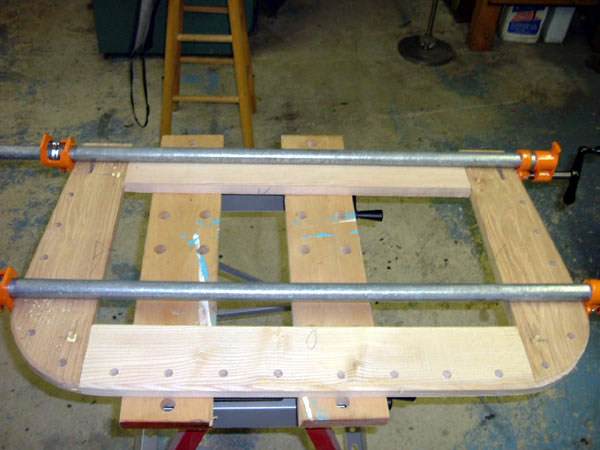
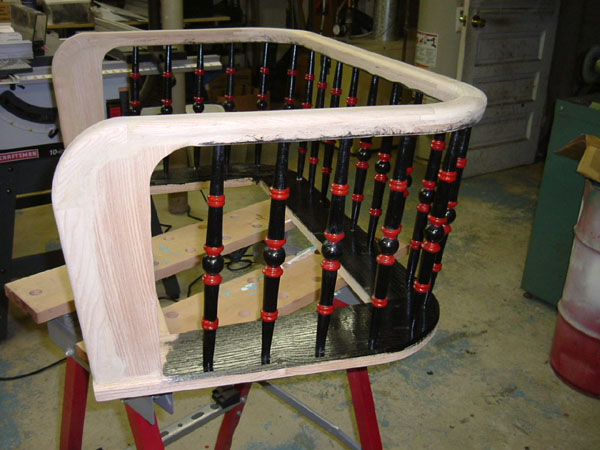
inventory, read directions, and prefit parts. I made a drying
rack for the spindles. I decided it was easier to paint the
spindles prior to assembly. I'm painting the seat all black
with red spindle accents. Apply first coat of black on the spindles
and glue/dowel the base together.
2.0
Hours
Oct.
22
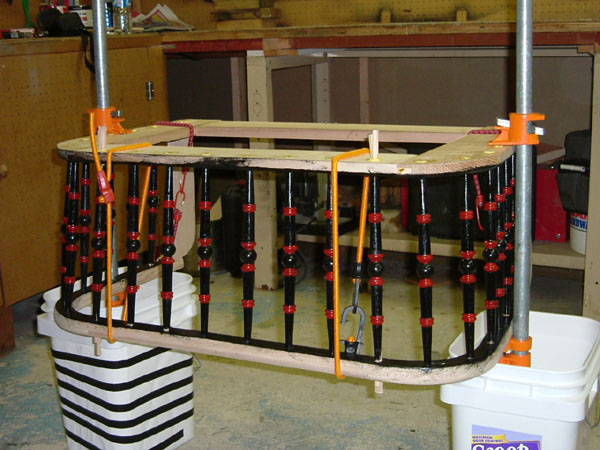
Glue uprights and top rail, apply 2nd paint coat on the spindles
1.0
Hours
Oct.
23
Paint the spindle accents
1.0
Hours
Oct.
24
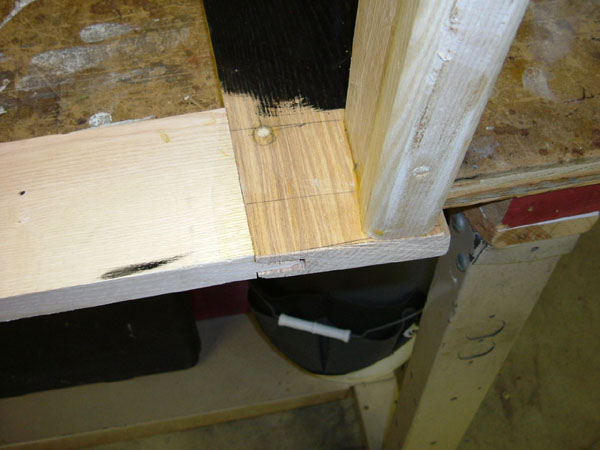
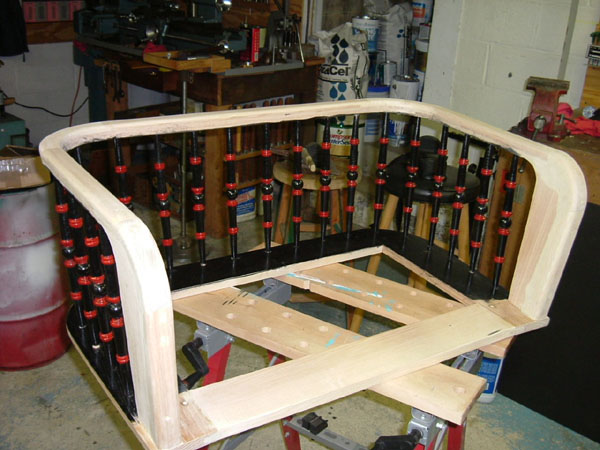
Glue and clamp the base, spindles, and top rail assembly as
directed
1.0
Hours
Oct.
25
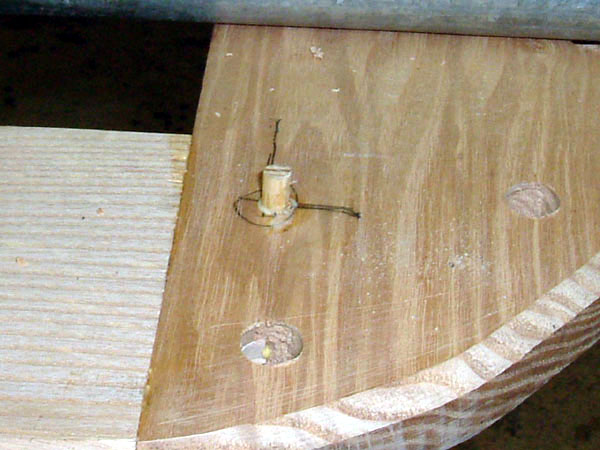
Fit and glue/dowel the front moldings as described
1.0
Hours
Oct.
28
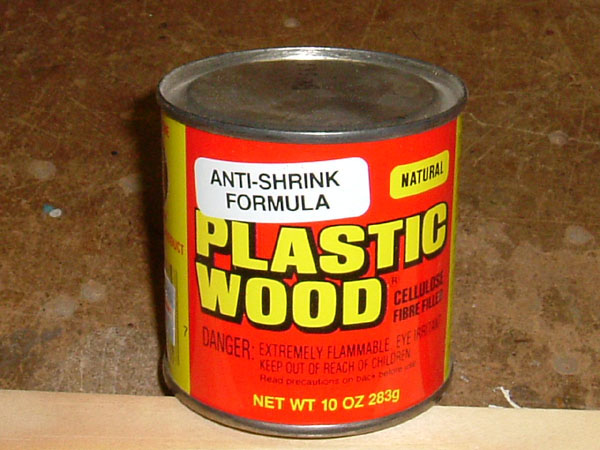
Sand and fill gaps with wood putty, sand, fill, sand again,
fill, sand and final sand with 220 grit paper.
2.5
Hours
Oct.
30 & 31
Paint the seat assembly, 2 coats.
2.0
Hours
Nov.
1
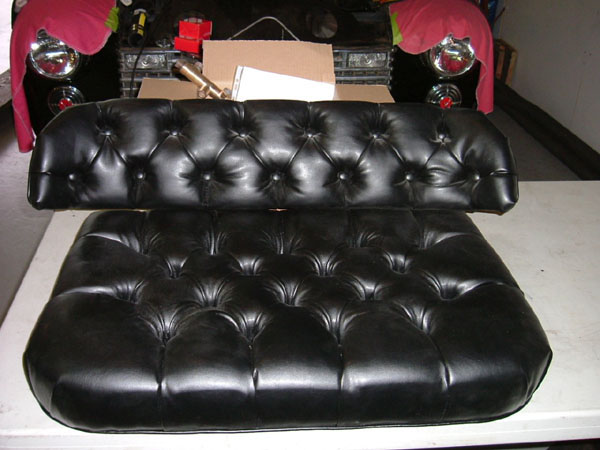
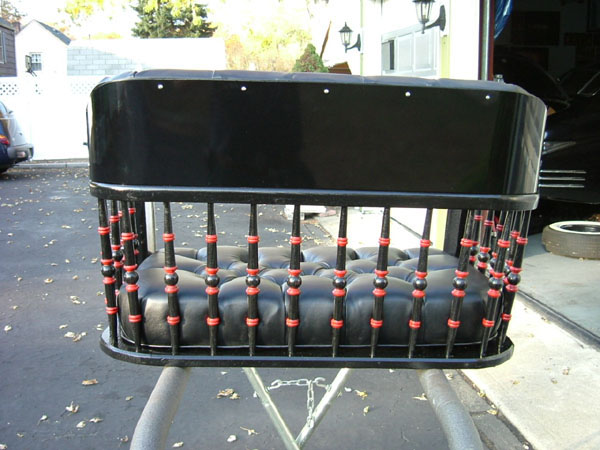
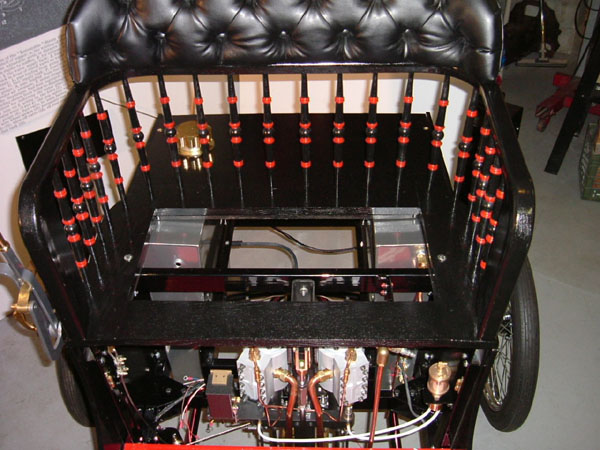
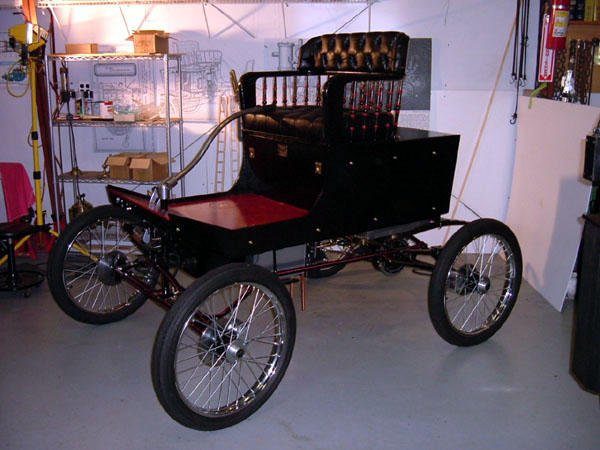
Mount
the metal back rest to the top rail, and mount the back cushion
to the metal back rest. I used brass screws to follow my trim
scheme. Install the seat cushion alignment blocks. WOW! This
seat looks real good. I'm not a wood crafter, but this kit made
me look like one.
3.0
Hours
Nov.
2
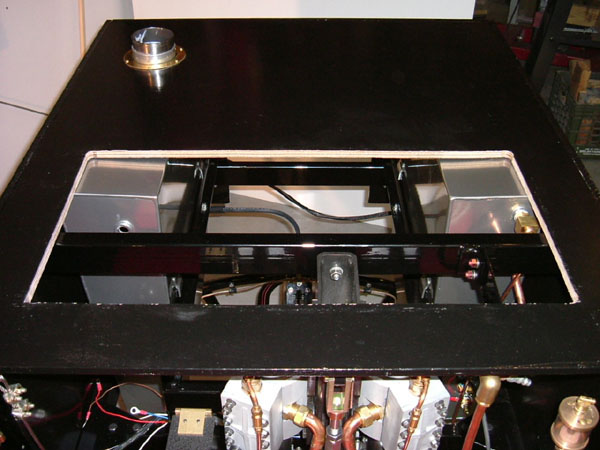
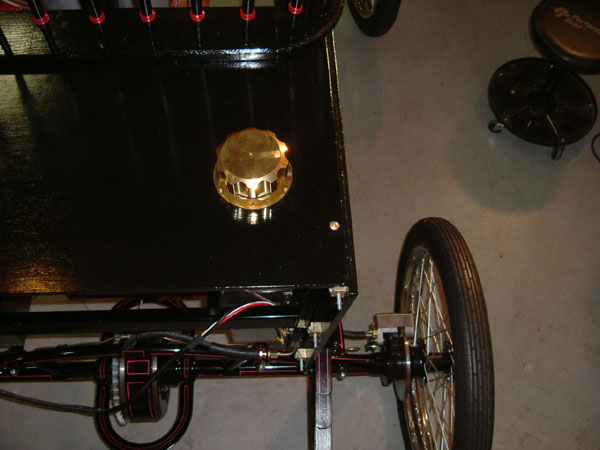
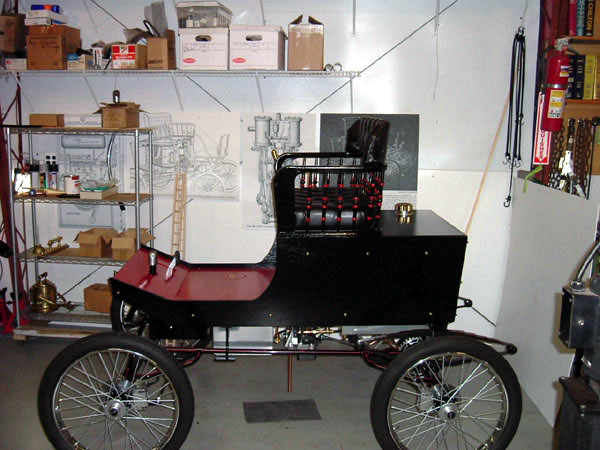
I chose to mount my seat and deck lid differently from the MW's
directions.
I set the seat on the deck lid and lined up the front
of the seat with the front edge of the deck. I marked the base
opening on the deck lid, and then cut out this rectangular opening.
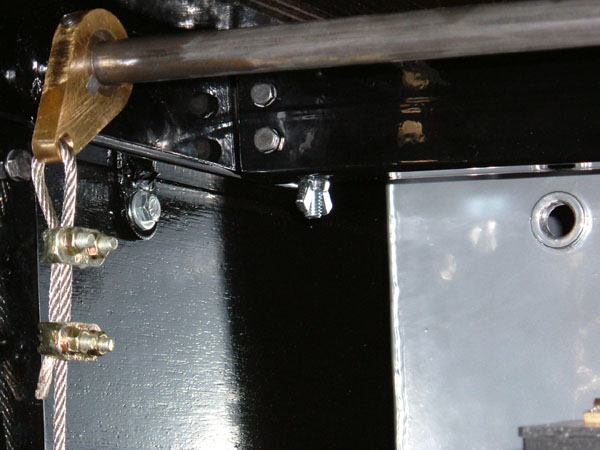
Measure a mark 1" outward from the cut edge centered directly
over the body cross member holding the upper engine mount. I
drilled a 5/16" hole through the seat base, deck lid and
the cross member. One on each side. Using 2 - 5/16 x
4" carriage bolts and wing nuts to secure, now the seat
and deck lid are secure to the body frame.
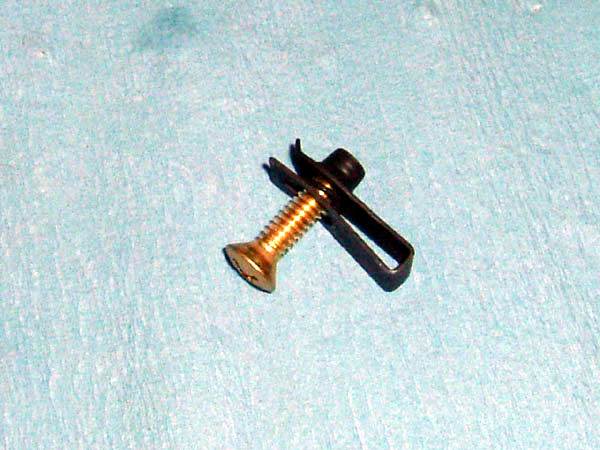
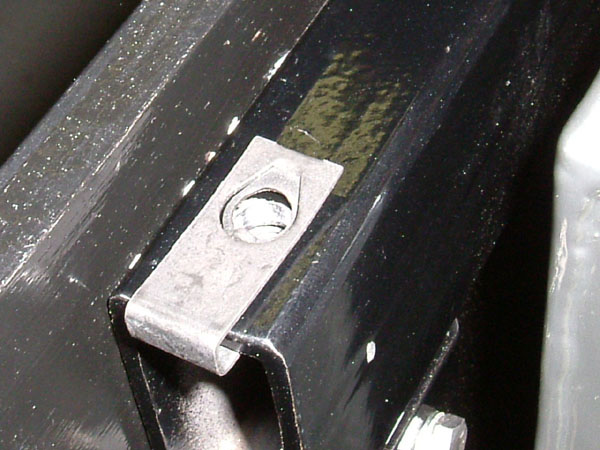
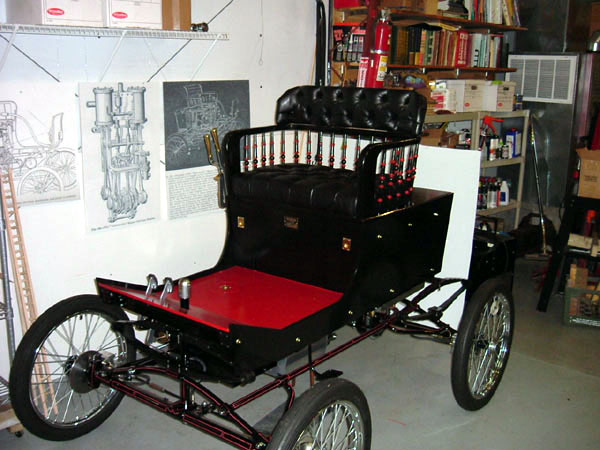
I used 2 - ¼" brass countersunk bolts and
clip nuts to secure the rear of the deck lid to the body frame.
2.0
Hours
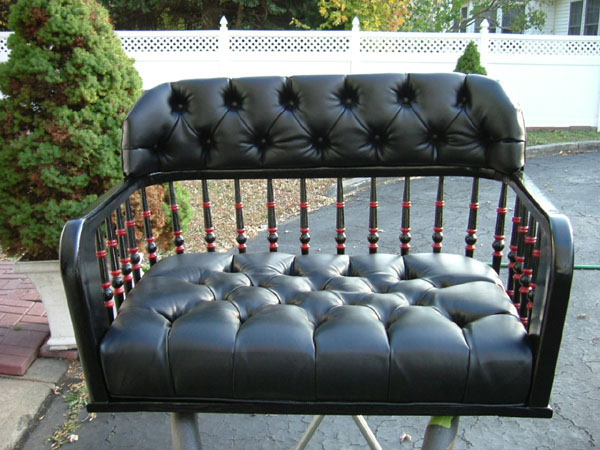
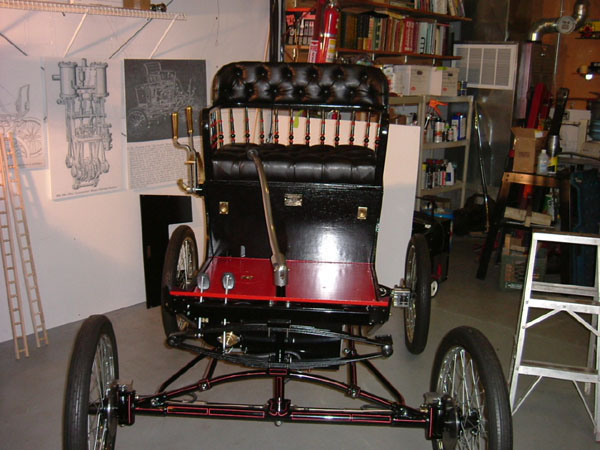
I climbed up in the seat and realized you are quite elevated
from the road, the tiller feels right and the seat is comfortable.
By now you should be making steam sounds, shhhh shhhh, along
with a whistle now and then.
The company that ModelWorks used, Barby Village Woodturning,
to supply the seat kit, did an outstanding job and kept with
MW's high standard of quality components. I found the assembly
manual easy to understand and was able to produce a nice quality
seat. I know you can too.
Happy
Building;
Rick
Click
pictures to enlarge
Likamobile
Home • Kits
One and Two •
Kits
Three and Four • Kits
Four-B and Five •
Caliper Correction
Kits Six and Eight •
Kit
Seven • Kit
Eight • Kit
Nine •
Kit
Ten • Kit
Ten Addendum • Kit Eleven
Kit Twelve •
Kit
Thirteen • Kit Fourteen
• Kit Fifteen •
Year End • Kit
Sixteen • Leaf
Spring Modification
Kits Seventeen / Eighteen
• Engine
Modification • Boiler
Installation • Burner
Installation
Fuel Line, Brake &
Throttle Pedal Installation • Final
Kit • Final Assembly
& Steam Up
Road Test & Modifications
• Purge Modification