March
23, 2006
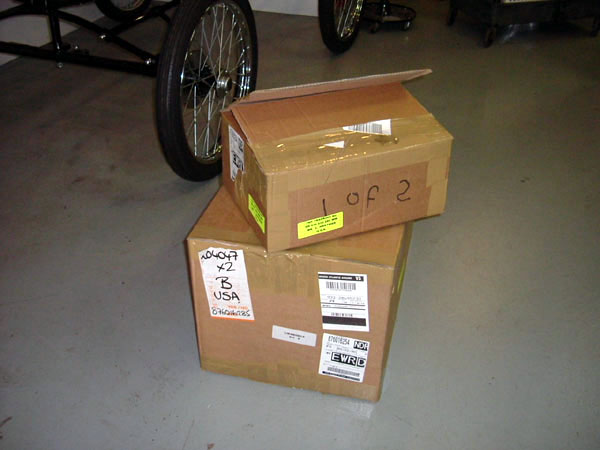
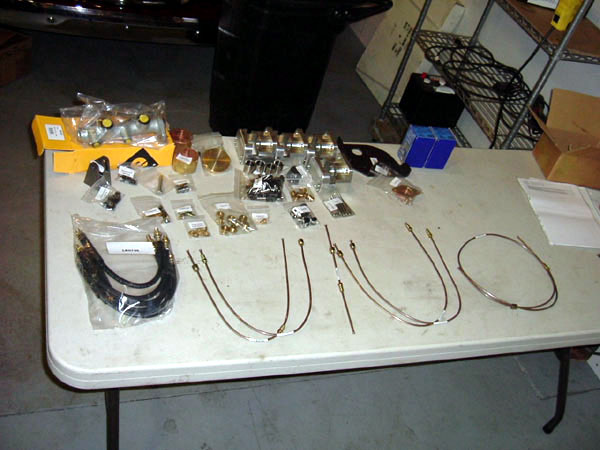
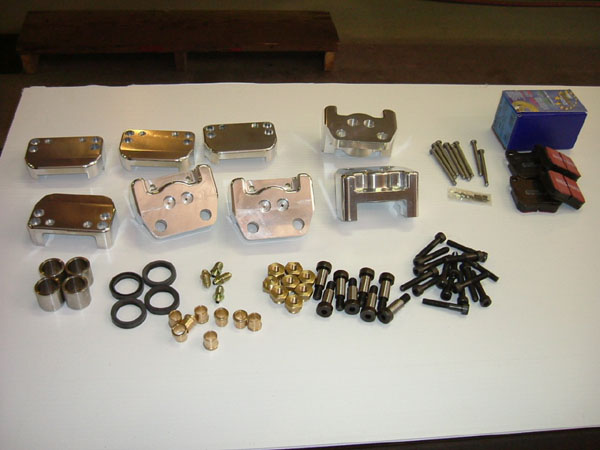
Kits 7 & 9 arrive. Checked parts inventory, all accounted
for. Over 150 parts per kit. Wow! I'm in heaven. At this point
I decided what I'm going to polish, powder coat or paint.
2.5 hours
March
27
Pre fit the components I plan on powder coating. I had
to grind the pedal pads a little smaller so the rubber pedal
pads would fit evenly and securely. Drop parts off to the powder
coater. I decided to polish the calipers, brake reservoirs,
water pumps, and any other brass components.
2.5 hours
March
30
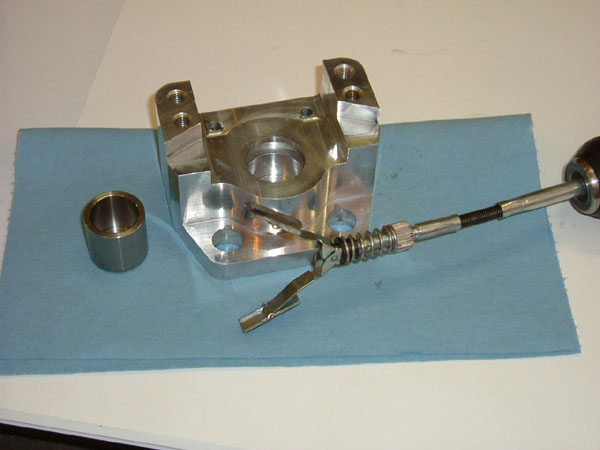
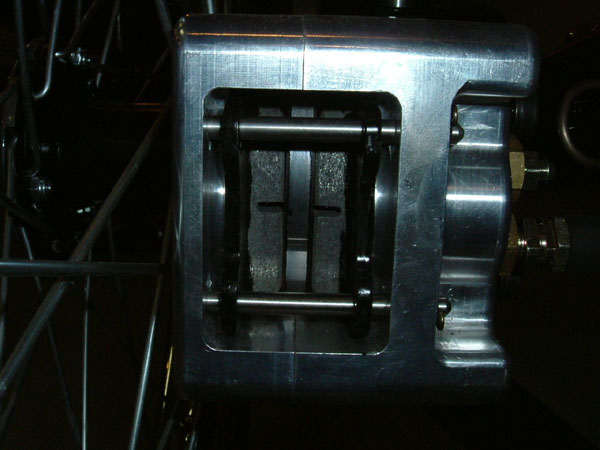
Caliper assembly is pretty straight forward as described
in the instruction. I used 2000 grit paper to smooth the pistons
and used a brake cylinder hone to smooth the caliper body bore.
Just a little at a time until the piston can slide in/ out easily.
Clean all the calipers with Brake Cleaner (auto parts house).
I used a caliper bolt to act as a drift to install the caliper
bushings; a very light tapping is all that is required to seat
the bushings.
Use a light coating of grease on the caliper bolts when installing
the calipers on the axles.
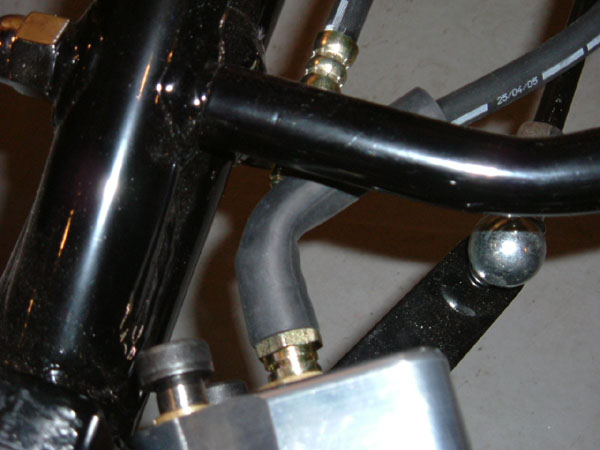
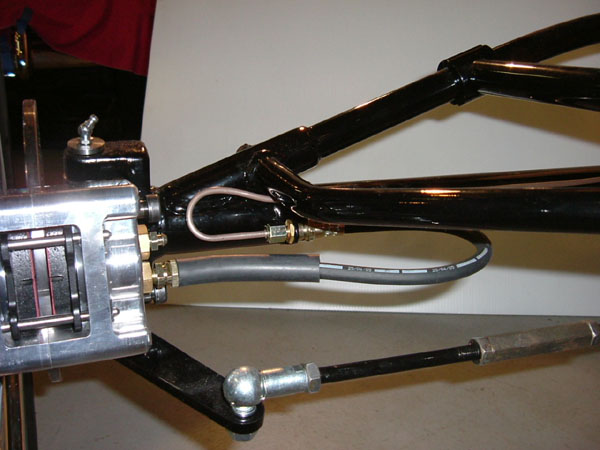
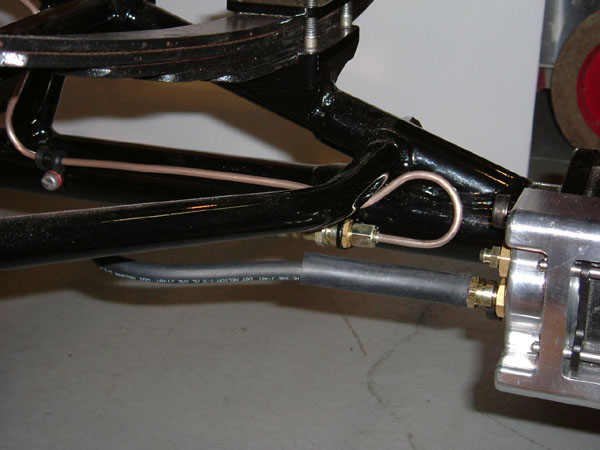
While installing the flex brake lines I found a potential
problem. The rear brakes are OK, but on the front units I found
that when the steering is turned to its extreme, the brake line
will kink and crush against the axle housing. As the tiller
is beyond the body by almost 9", if you bring the tiller
to the edge of the body as the maximum turn, the brake lines
have plenty of clearance and premature line failure can be eliminated.
A steering stop will need to be made to prevent this problem.
I did send an e-mail to Steve Babcock at MW's explaining this
problem and a solution. Steve did respond back acknowledging
this potential hazard and is working on a bolt on steering stop.
4.0 hours
April
1
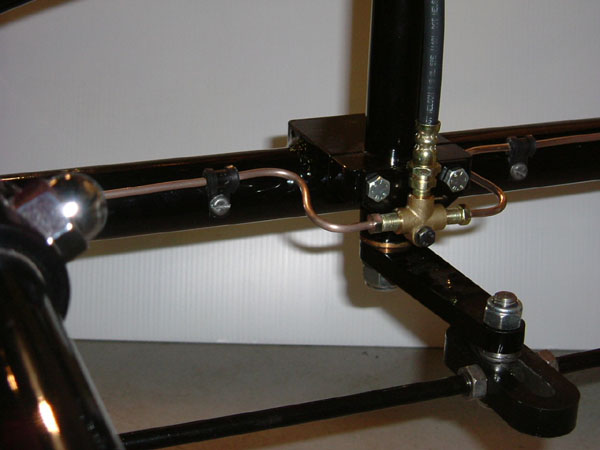
I formed the brake lines. I first used a piece of metal
rod (coat hanger/welding rod) cut to the same length as the
line and then bent it to fit. You can use a brake bending tool
or a socket as a form. However you decide to run your lines,
just make sure the line is somewhat protected by the axles from
the possibility of being hit or caught by road debris or crushed
by any chassis movement. Take your time and plan your bends
using the brake line bender or form so as to prevent any line
kinks. Kinks are bad and if you kink the line you will probably
have to replace it. A time saver here is that the left and right
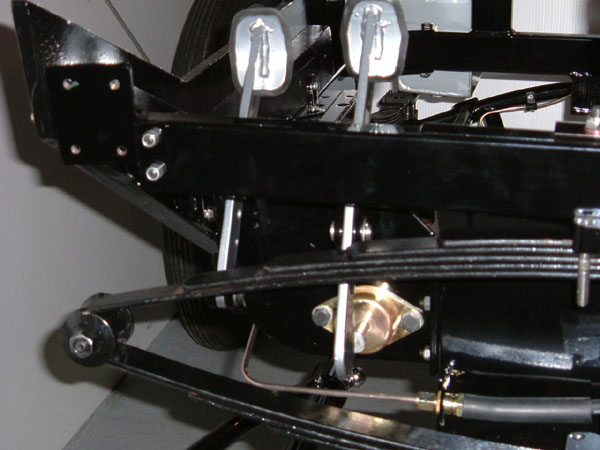
sides are mirror images of each other. On the rear axle, the
lower line clamp pan head screws will have to be shortened slightly
of use 3 small washers to shim the screws as the screw will
hit the axle inside the housing before seating the clamps.
3.0 hours
April
4
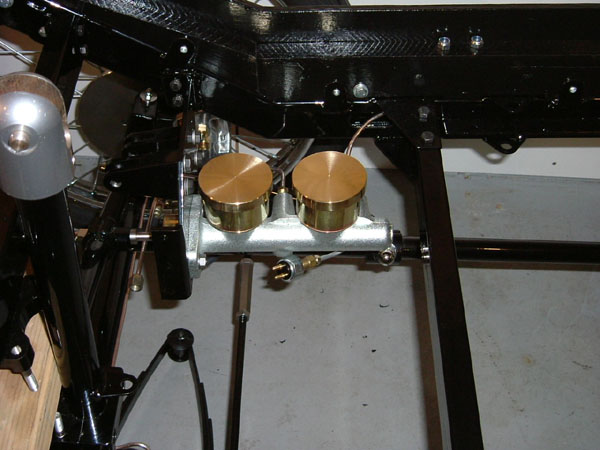
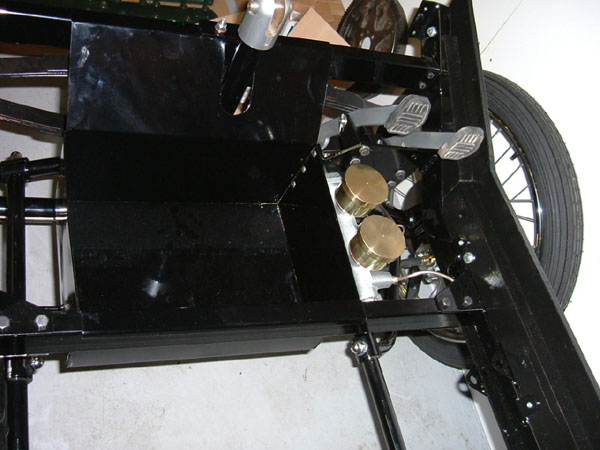
Picked up the parts from the powder coater. Installed the
brake master cylinder, plinth plate and pedal pivots to the
chassis. Upon installing the battery box I found the tab on
the steering tube interfering with the battery box. After contacting
Steve Babcock at MW's, he said that due to a change this bracket
will not be used and can be cut off. I cut mine off and there
is plenty of clearance with the battery box. I removed the front
spring in order to lower the body chassis low enough to slide
the battery box around the steering tube and set it on the framework.
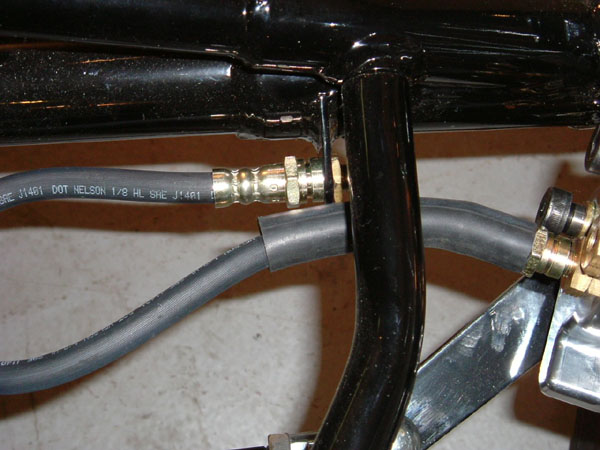
Then I bent the remaining brake lines for the master cylinder.
My brake line that ran through the chassis would just touch
the frame where it ran to the master cylinder, so I split a
rubber hose and fit it over the brake line, this will prevent
a future rattle later on.
Since I plan to have brake lights I made up a hydraulic stop
light switch. I used a switch Napa #SL134, a 3/16 brake line
(metric bubble flare like our other lines) Napa #813-1260, a
3/16 tube nut, and a 3/16 tube to 1/8 pipe adapter, also at
your parts house. I cut off one end and installed the 3/16 tube
nut and double flared the end. I bent the line as shown and
assembled it, then installed it on the bottom opening of the
master cylinder where the blanking plug would have been installed.
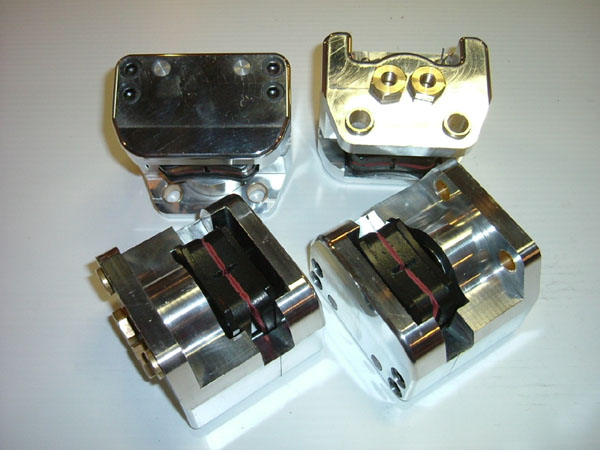
I glued the o-rings together with Super Glue (as described for
the water tank cap) and installed the Master Cylinder Reservoirs.
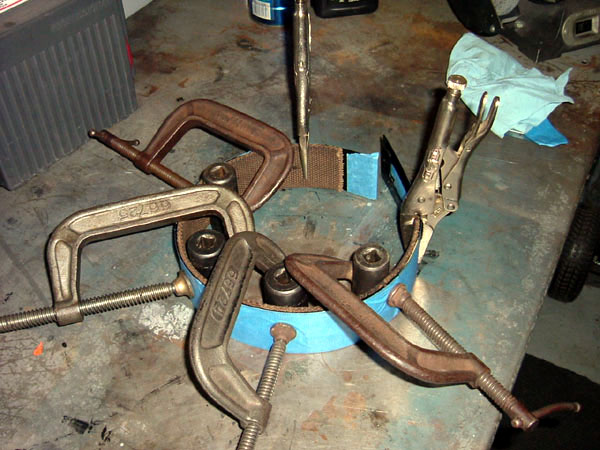
I use Gorilla Glue to glue the brake lining to the brake band.
Clamps are a necessity here as this glue has a tendency to expand,
very strong and permanent.
3.0 hours
April
8
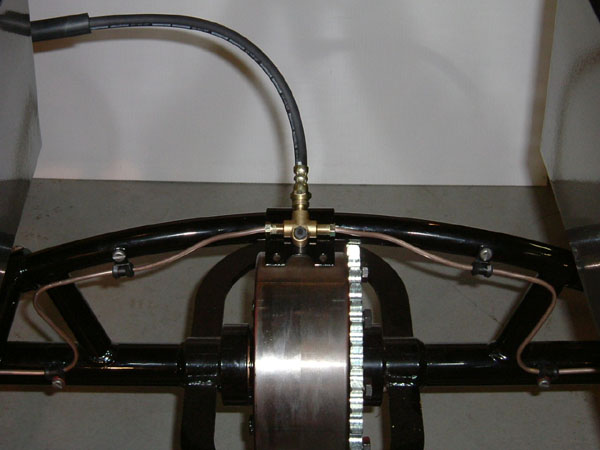
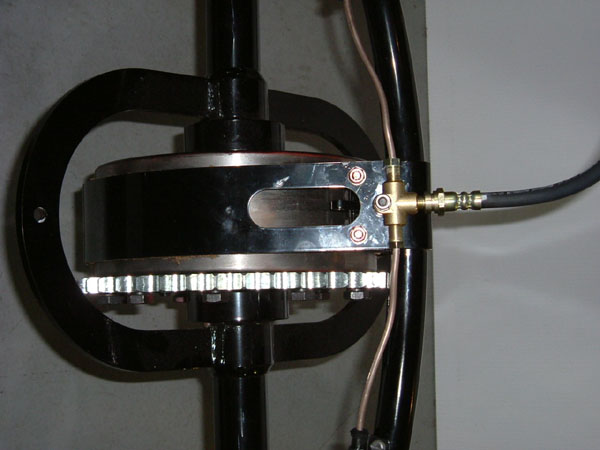
Installed the differential brake band as per instructions.
I won't be installing brake fluid in the system until we have
the springs permanently installed, just in case any lines have
to be undone for the spring installation.
1.0 Hours
I really enjoyed this kit as there was a lot to do and I
feel we are past the halfway point. Besides what I described
above, I found the kit directions to be improving, the pictures
that were provided were helpful. The machining is simply a work
of art. There is a possible problem with the brake pedal being
struck by the front spring upon compression, but since the springs
are something that is being addressed, this may be rectified
at that time. Other than the 2 questions I asked of MW's I am
quite pleased with the quality of our kits, and feel confident
that MW's is committed to providing a top shelf product.
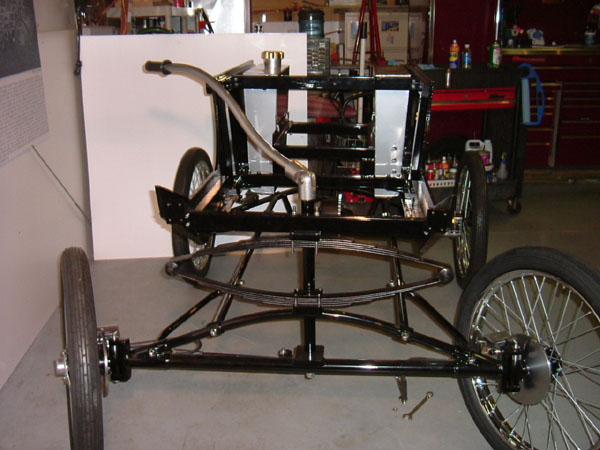
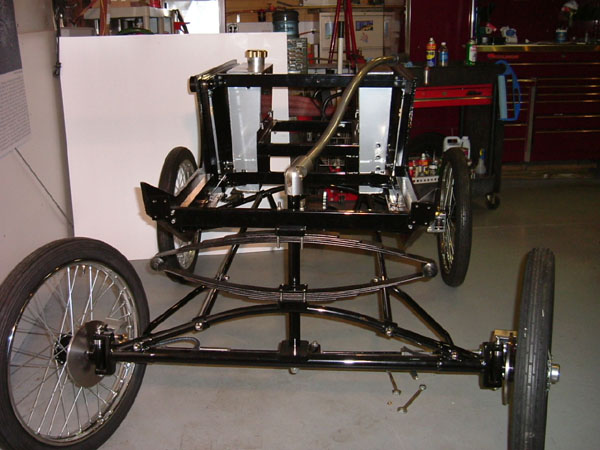
As you can see from the pictures, the Likamobile is forming
up quite nicely and I'm quite proud of my build. So as I sit
back to admire my work, I open a beer, not just any beer, we
now can only drink Guinness Stout as we have earned it.
I can hear Kit 9 calling me, so I guess I have to start it soon,
so many parts, so much fun.
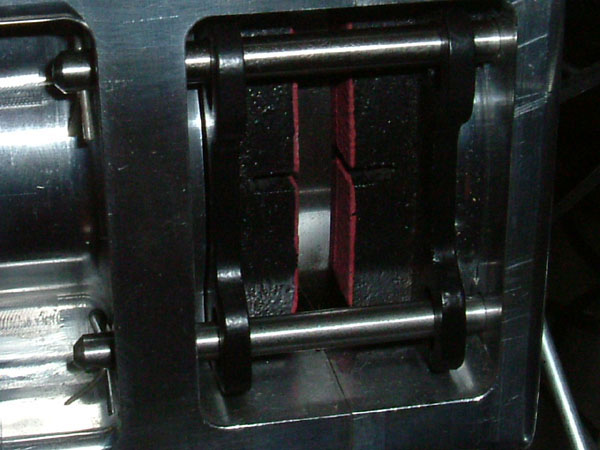
Brake
Pad Mod
You will notice that the brake pads are taller than the
brake disc. For brake efficiency and prevent future brake
fade as the pads wear around the disc, I cut the brake material
down to the height of the disc.
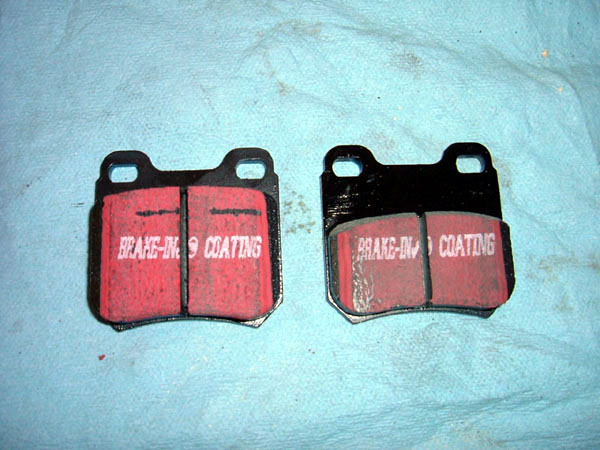
With a marker pen I drew a line on the pads tracing along
the disc. Remove the pads from the calipers. A particle mask
is recommended at this point. Using a hand saw I cut a groove
through the material to the steel pad base, where marked and
then I cut the pad material flush with the steel pad base to
the cut previously made, to remove the material not needed.
Using 100 grit sand paper I then contoured the end of the pad
material to match the curve of the disc, and chamfer the edges
from the cut. I painted the steel pad base to prevent rust.
1.5 Hours
Happy Building
Rick
Click
pictures to enlarge
Likamobile
Home • Kits
One and Two •
Kits
Three and Four • Kits
Four-B and Five •
Caliper Correction
Kits Six and Eight •
Kit
Seven • Kit
Eight • Kit Nine •
Kit Ten • Kit
Ten Addendum • Kit Eleven
Kit Twelve • Kit
Thirteen • Kit Fourteen
• Kit Fifteen •
Year End • Kit
Sixteen • Leaf
Spring Modification
Kits Seventeen / Eighteen
• Engine
Modification • Boiler
Installation • Burner
Installation
Fuel Line, Brake &
Throttle Pedal Installation • Final
Kit • Final Assembly
& Steam Up
Road Test & Modifications
• Purge Modification