Well fellow Likamobile builders; I just received my boiler
yesterday, October 16, 2007, exactly 1 year since my last kit
arrived. I'm calling this Kit 16 just due to the fact that the
last kit was 15, the instructions just say boiler.
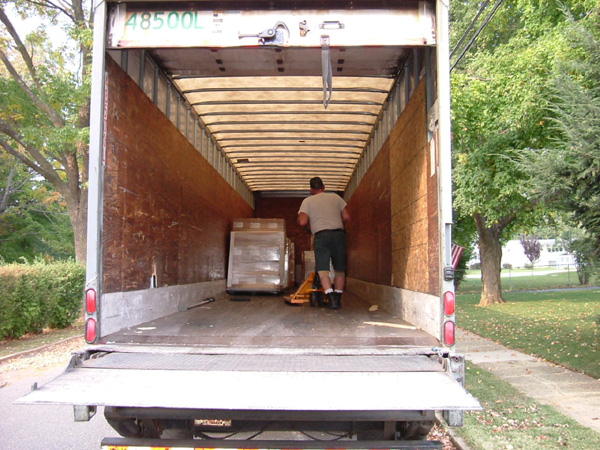
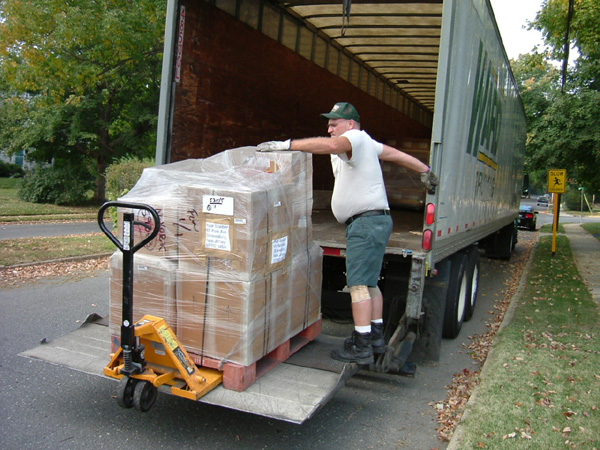
My boiler along with Gil Harris' and Rolf Margeneaou' arrived
truck freight 900lbs. I'm glad I called the freight company
to ask for a lift gate to get the pallet off the truck.
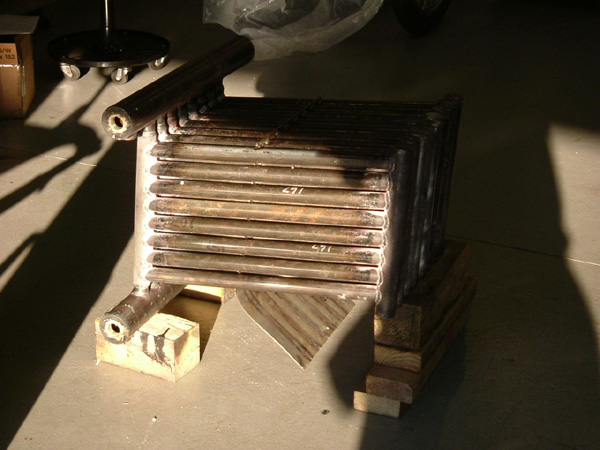
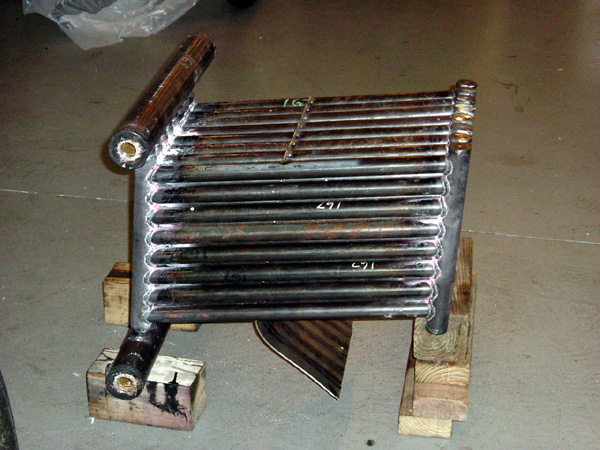
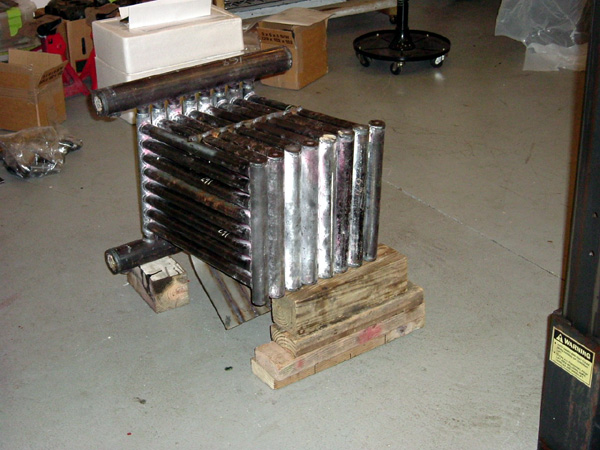
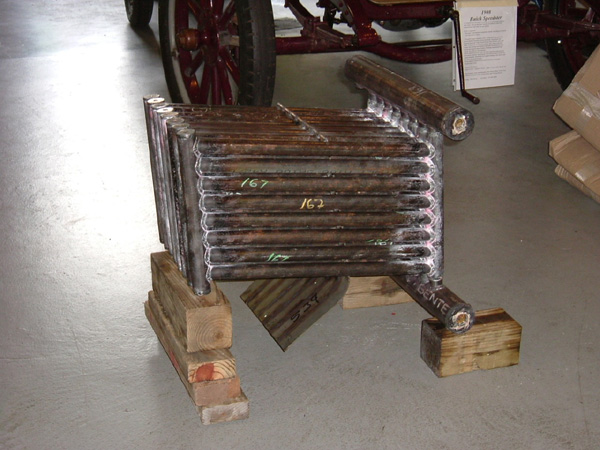
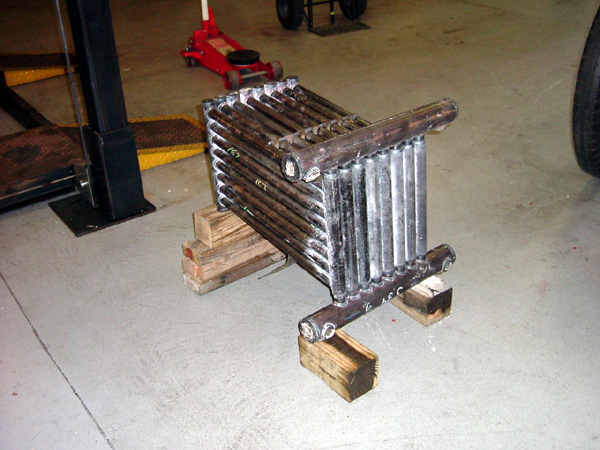
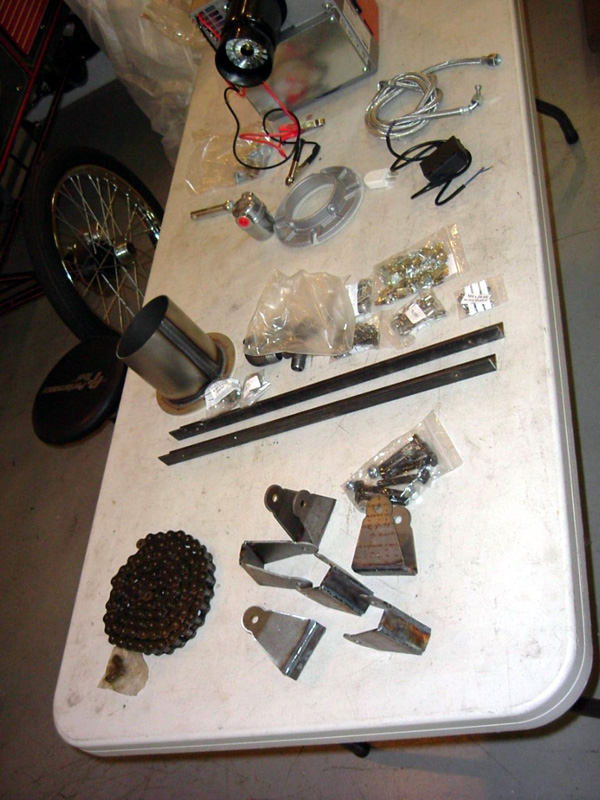
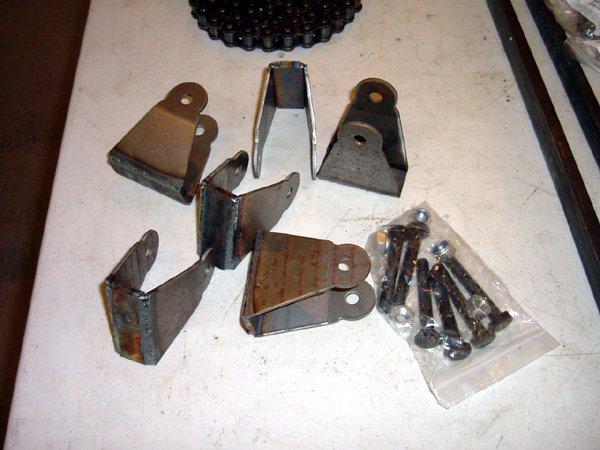
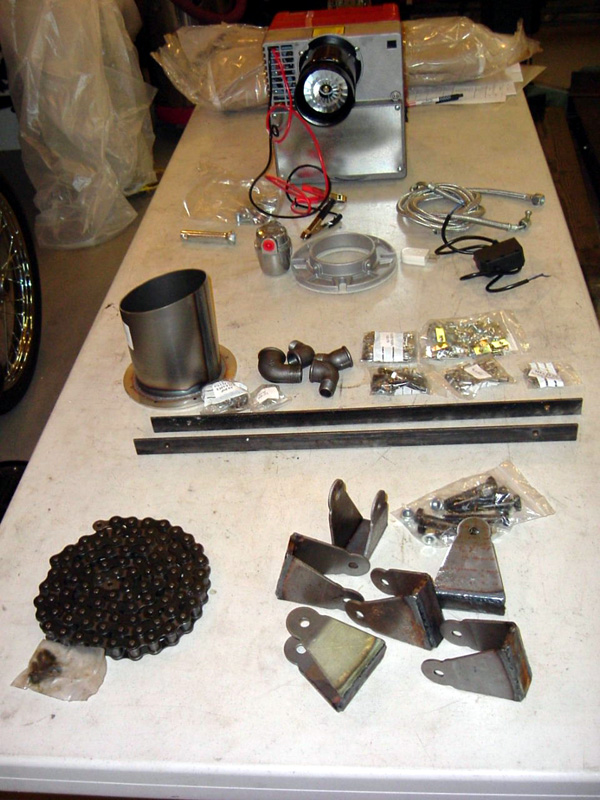
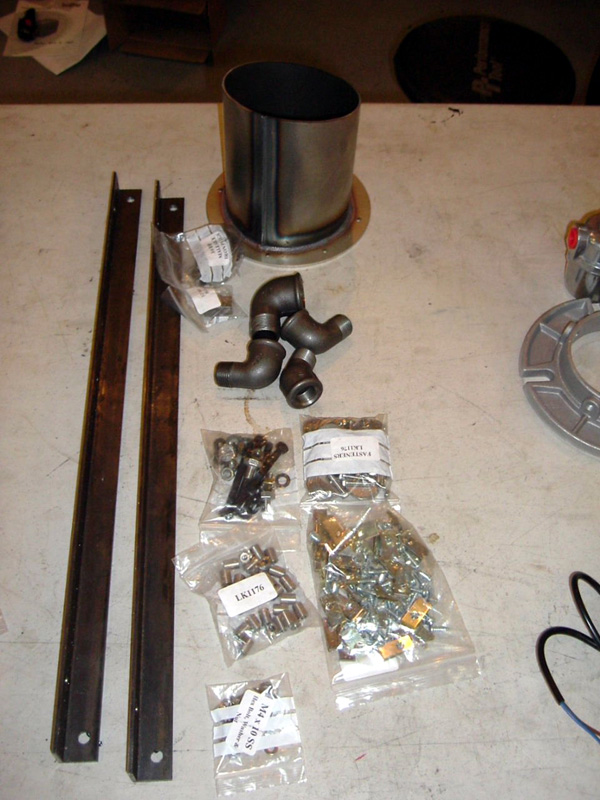
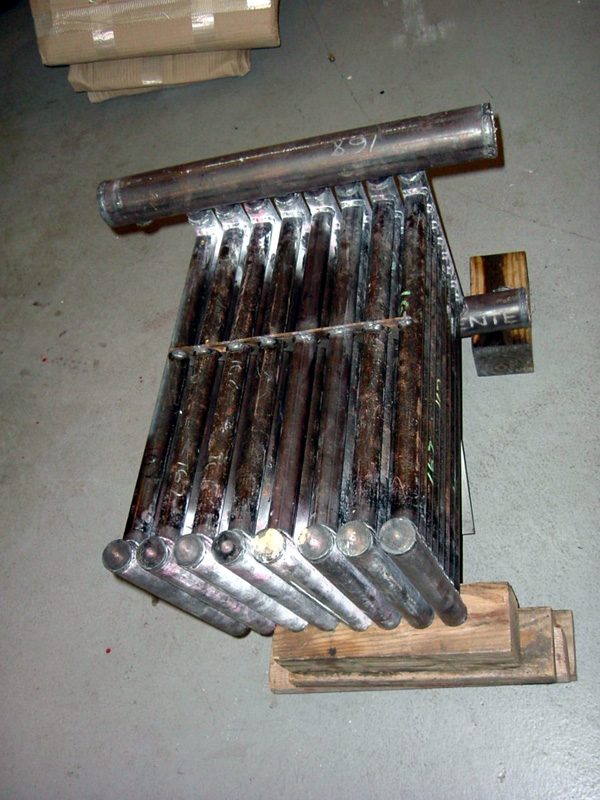
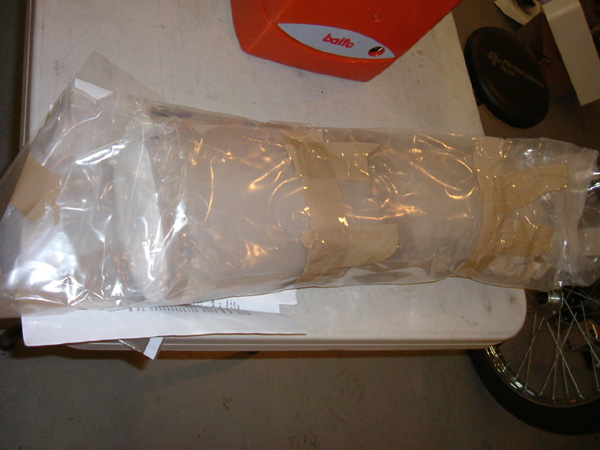
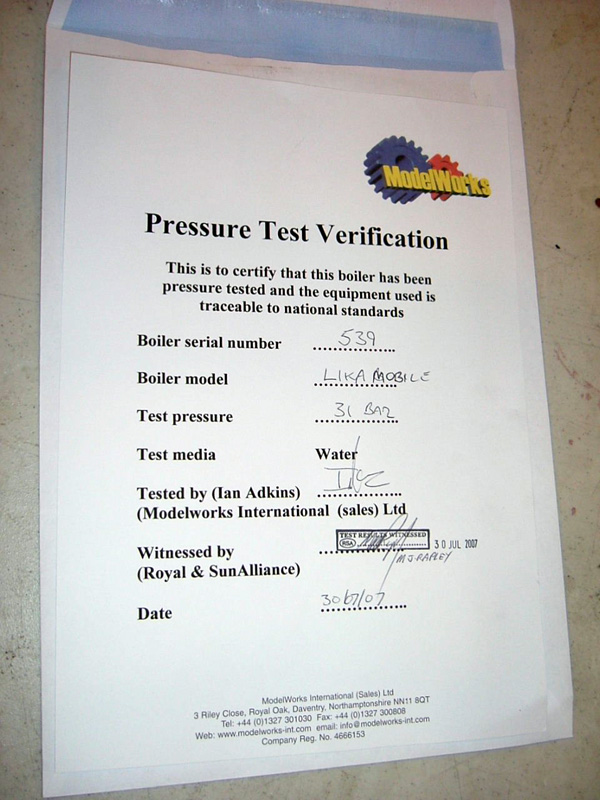
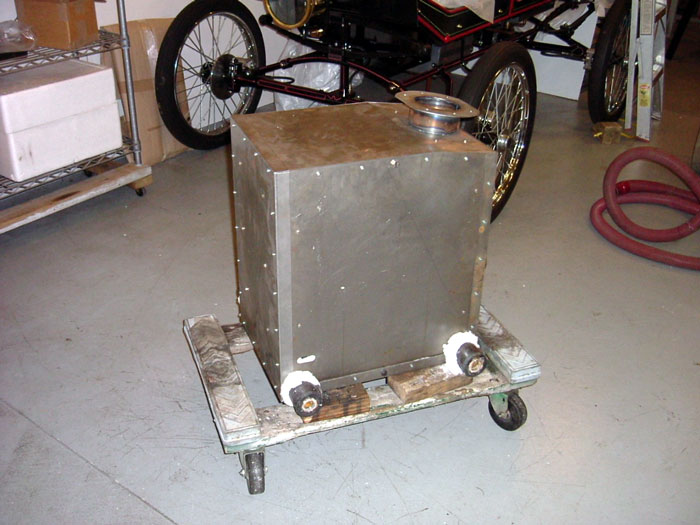
The Kit consists of: Boiler, panels, burner assembly, misc.
fittings, insulation, the drive chain, hardware, Boiler Certification,
and the leaf spring stiffeners.
I will post my assembly along with pictures as I progress.
I just wanted to let everyone know that there is forward progress
from Model Works. I hope the electronics and the balance of
components arrive in a timelier manner than the boilers did.
I've posted pictures of what came in this kit.
Kit
16 continued
Boiler
Assembly
October
19,2007
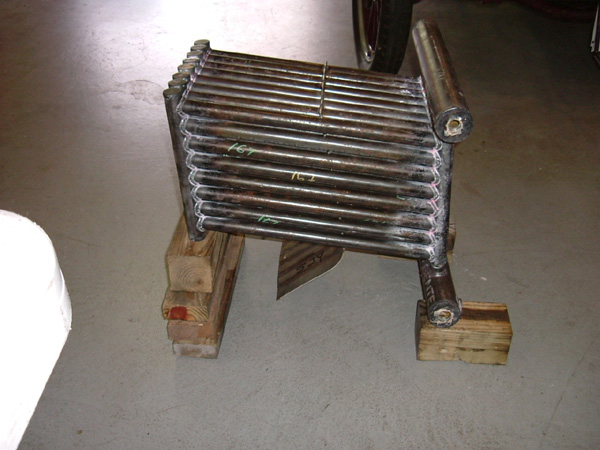
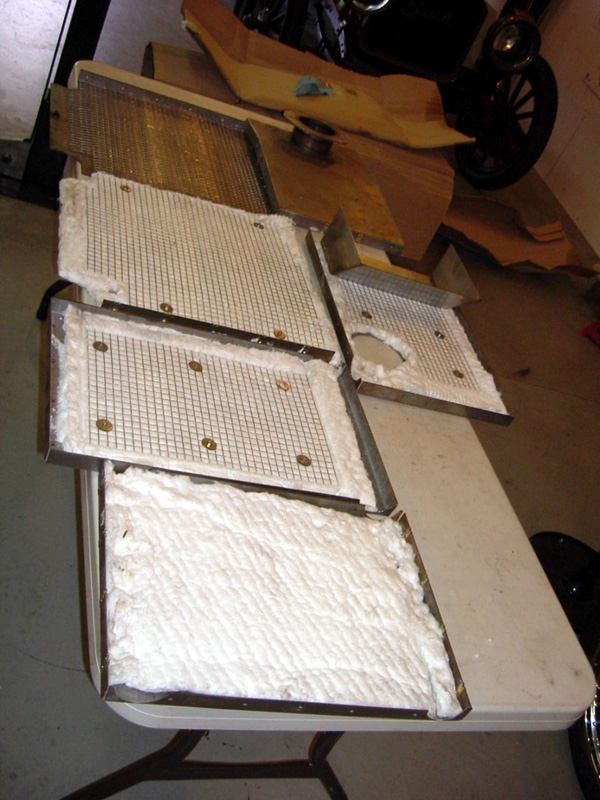
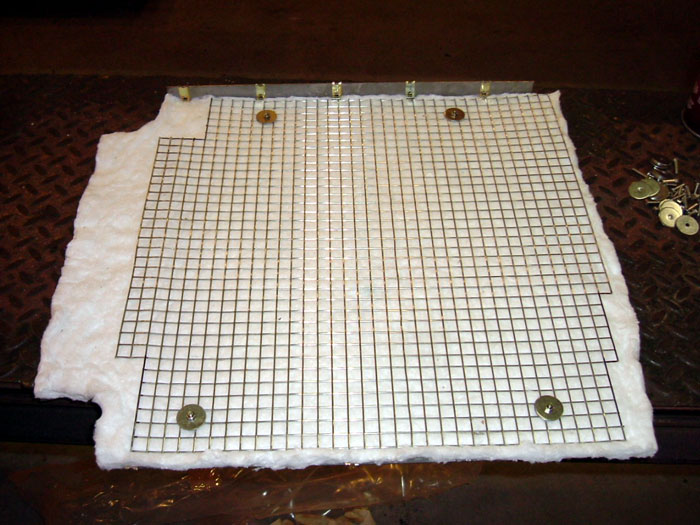
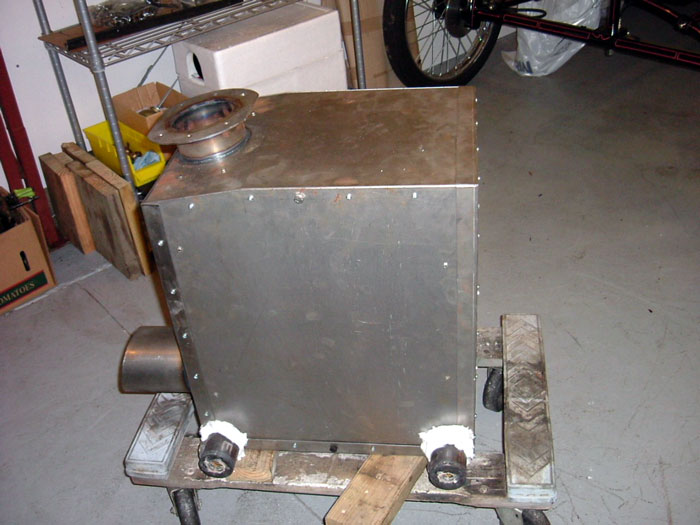
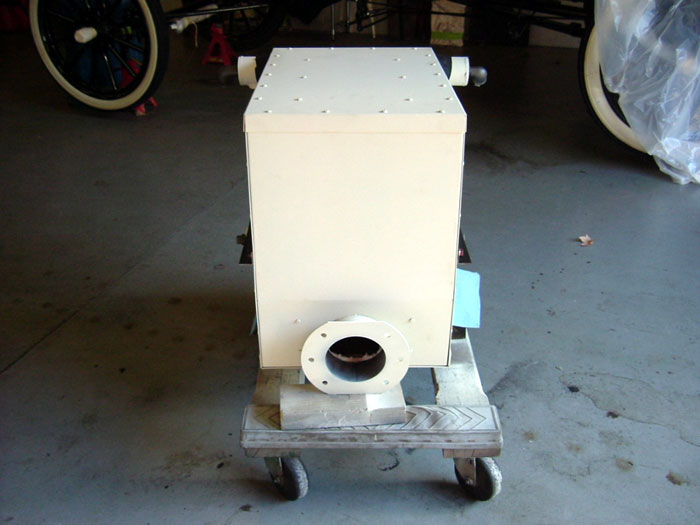
The boiler assembly is very straight forward; I used a small
amount of spray adhesive to hold the Kaowool to the cladding
panels, NOTE: use gloves while handling the wool as described
in the instructions. This is a glass fiber and will hold onto
your skin and can cause a serious irritation. I also used the
disposable breather mask. I used a little Locktite on all the
nuts securing the screens and flue.
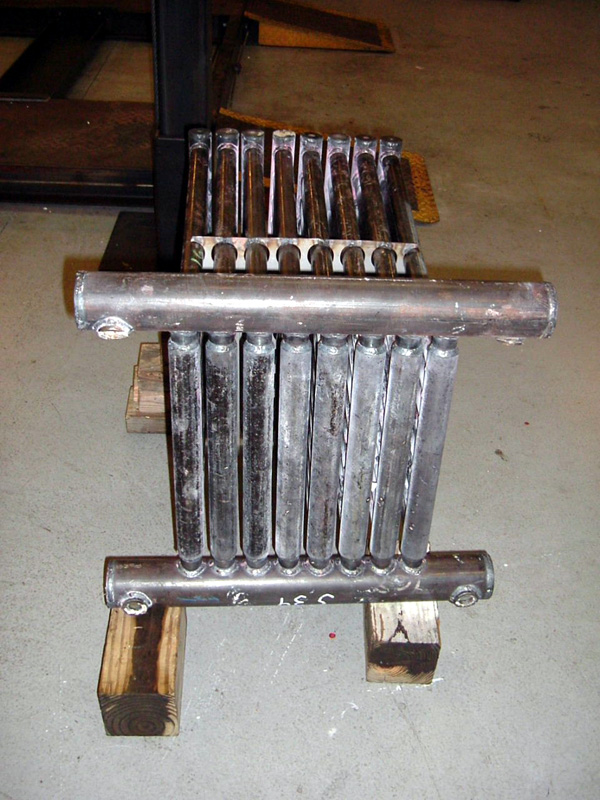
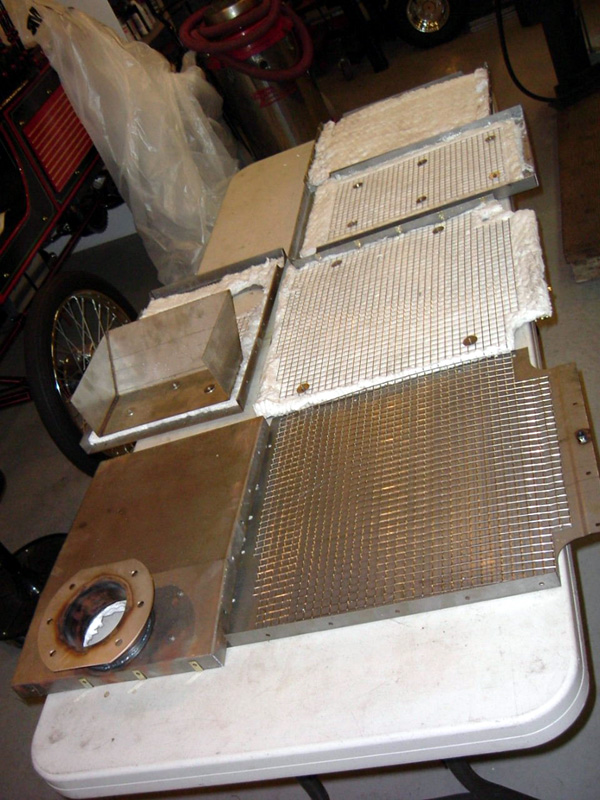
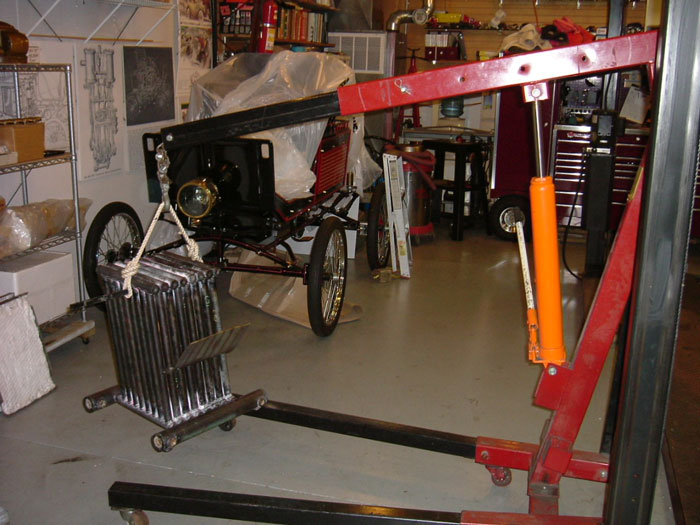
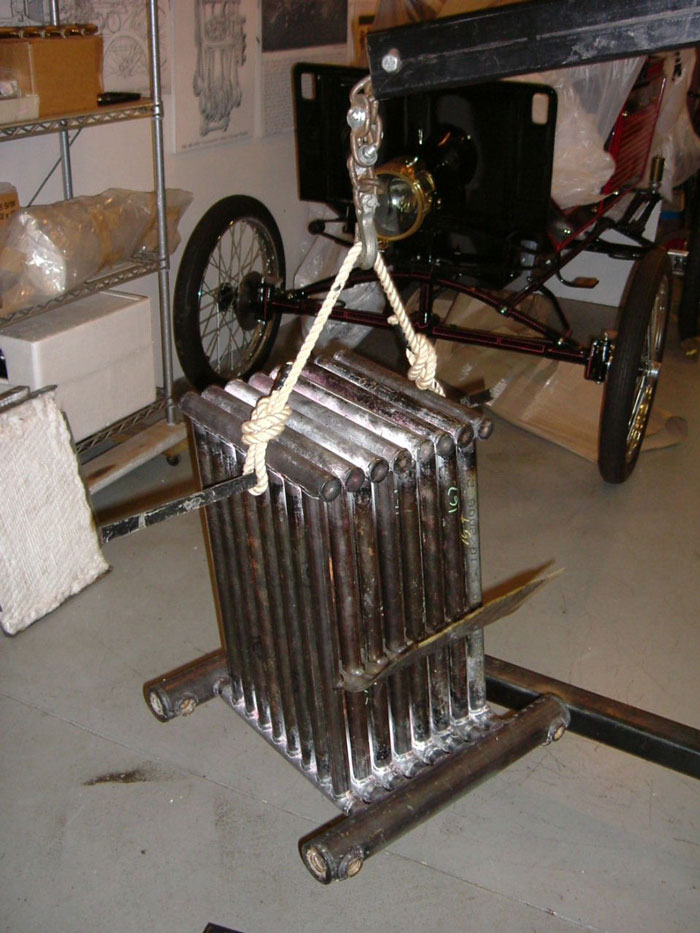
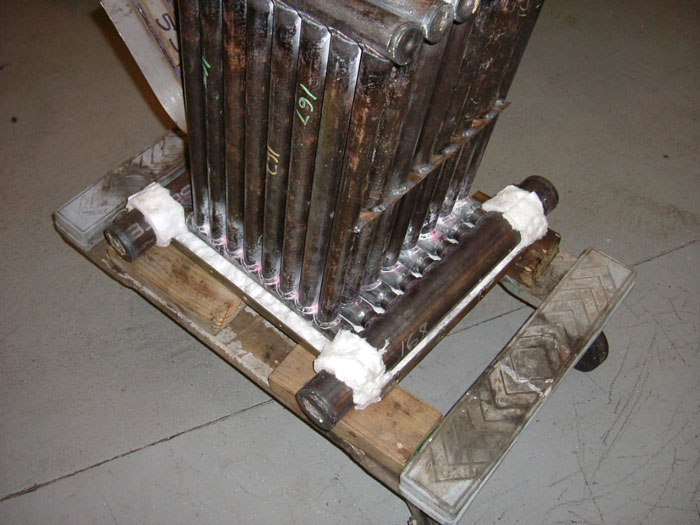
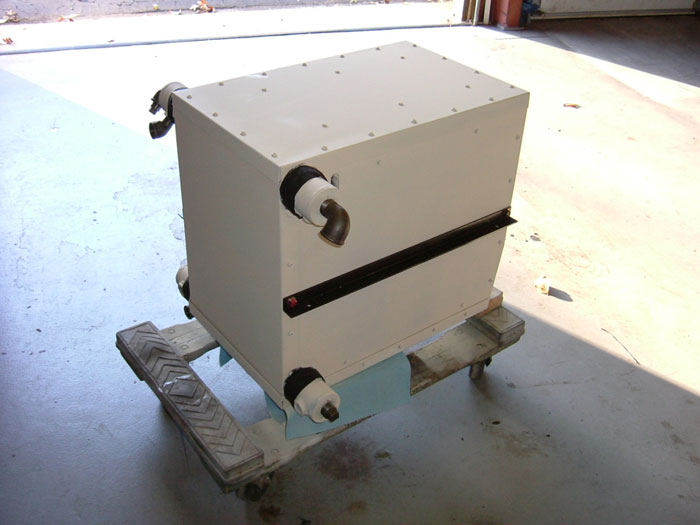
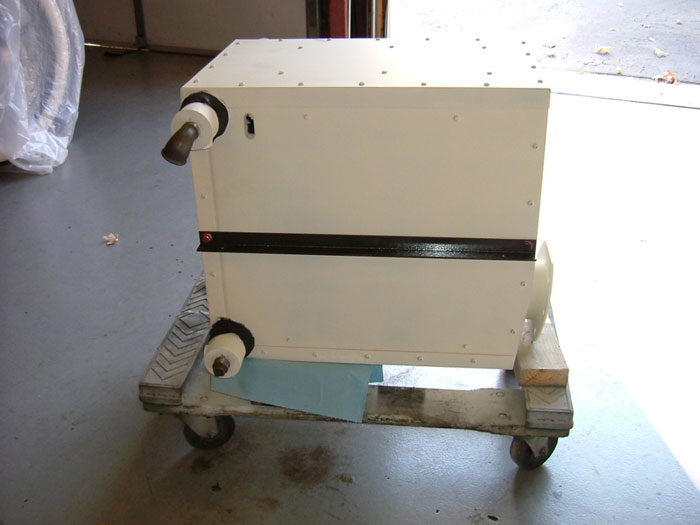
Building the boiler on a wheeled cart allows you to move
the boiler around easier, I used an engine hoist to lift the
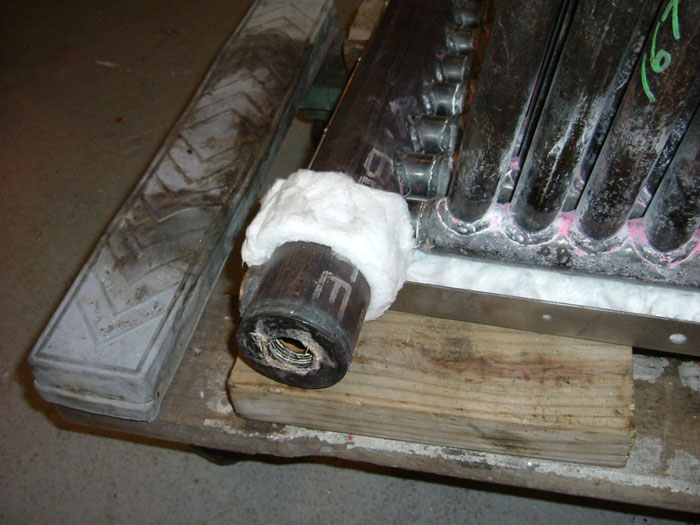
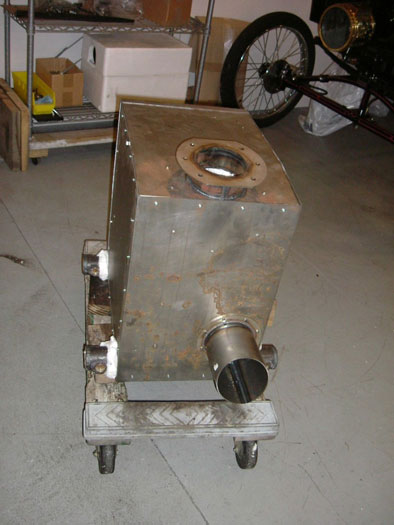
boiler and center it on the front panel, I also cut a 1"
wide piece of wool and glued it around the 4 manifold ends that
protrude from the panel side, this will allow a good heat seal
and can be trimmed later. Set the boiler into the front panel
making sure it is centered. Assembly went along pretty easily
from this point, as you don't have to move the boiler again
until assembly is complete.
3.5 Hours
Oct. 30
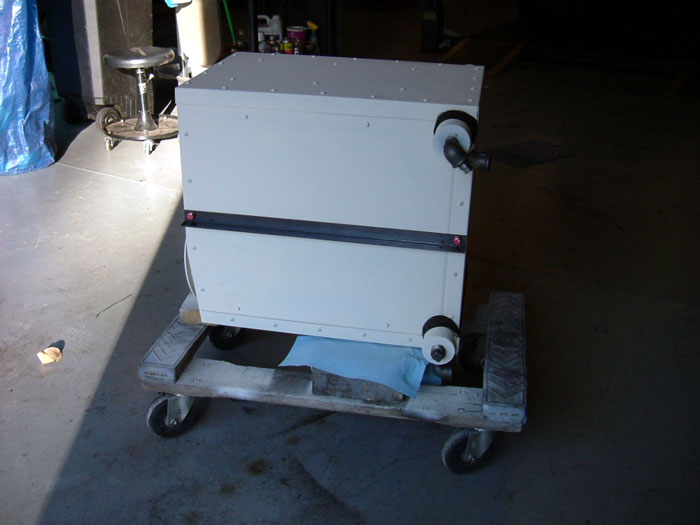
I painted the boiler cladding with a high temp paint, I
chose Almond to be different.
1.5 Hours
Oct. 31
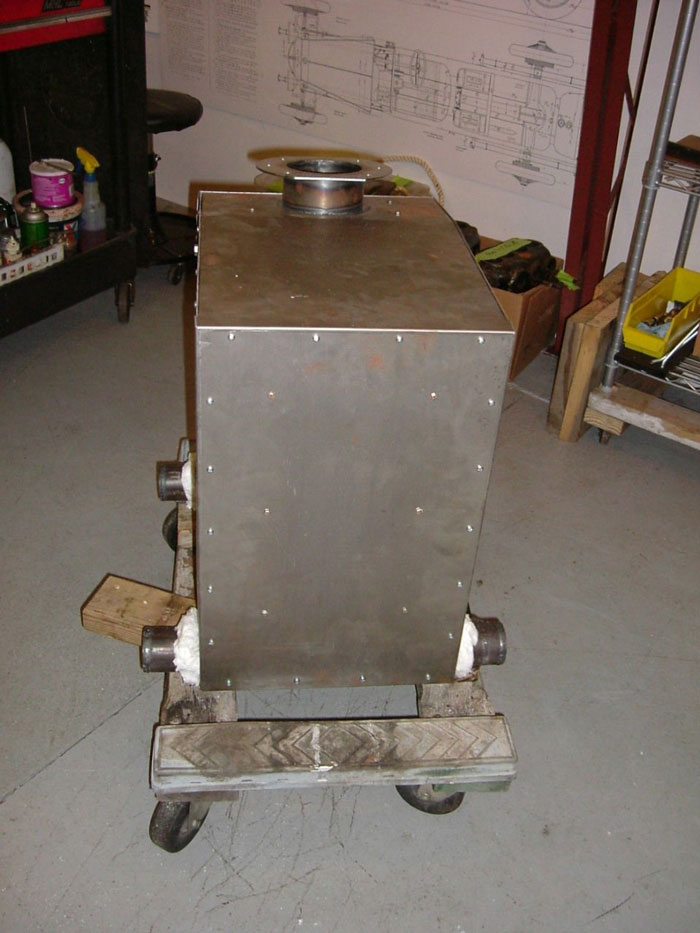
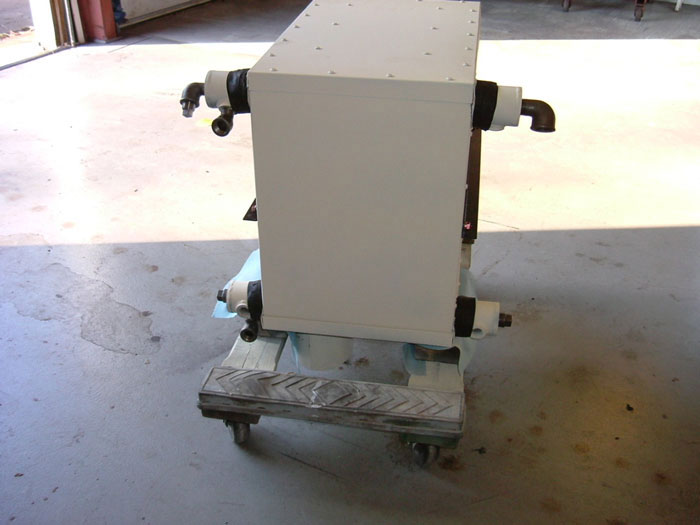
Install the mounting brackets, I found I had to slightly
elongate the holes to match up with the boiler, and I had to
use a slightly longer bolt as the supplied bolts would only
thread in 1 thread. Make sure that the bolts you use do not
contact the boiler tubes, as this could cause wear on the tube
and failure later on. I wrapped the wool sticking out around
the manifold with high temp friction tape to help hold it in
place and not easily get caught. It may come off on it's own
later on when running the car.
1.5 Hours
I wheeled the boiler off into a corner so I can then start
on the spring stiffener installation. When the springs are finished
I will then install the boiler.
Happy
Building
Rick
Click
pictures to enlarge
Likamobile
Home • Kits
One and Two •
Kits
Three and Four • Kits
Four-B and Five •
Caliper Correction
Kits Six and Eight •
Kit
Seven • Kit
Eight • Kit
Nine •
Kit
Ten • Kit
Ten Addendum • Kit Eleven
Kit Twelve •
Kit
Thirteen • Kit Fourteen
• Kit Fifteen •
Year End • Kit
Sixteen • Leaf
Spring Modification
Kits Seventeen / Eighteen
• Engine
Modification • Boiler
Installation • Burner
Installation
Fuel Line, Brake &
Throttle Pedal Installation • Final
Kit • Final Assembly
& Steam Up
Road Test & Modifications
• Purge Modification