1/9/06
Kits
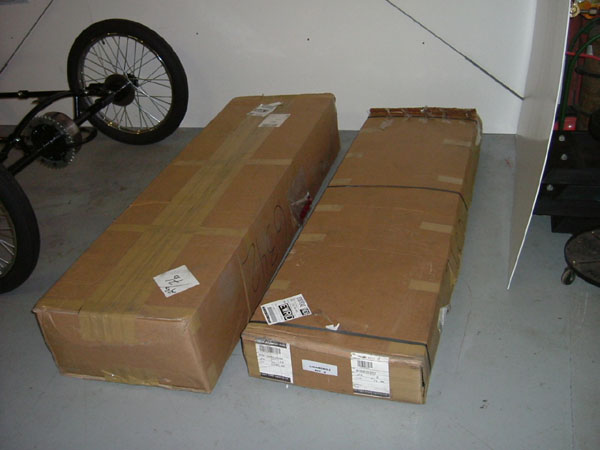
6 & 8 arrived in 2 boxes, inventory of parts checked and
confirmed.
1/10/06
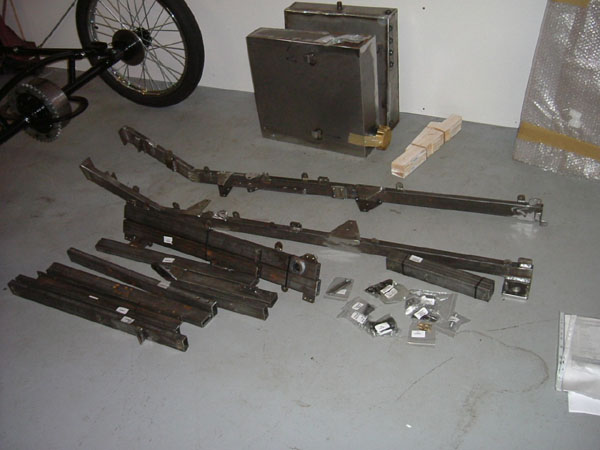
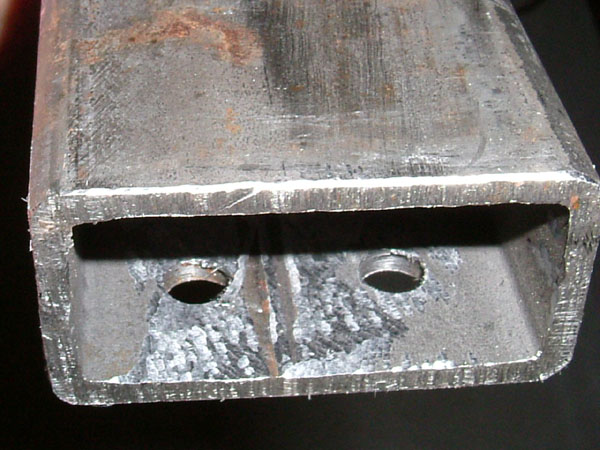
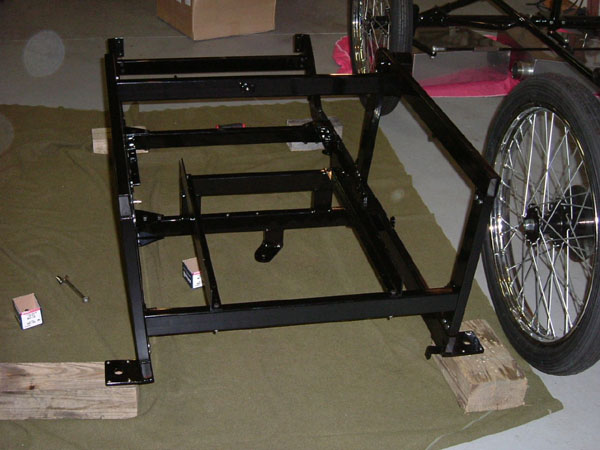
Start to assemble the body structure. I ground flush the inside
seams of some of the frame tubes where they mount to the corresponding
tabs so that they will fit flush when tightened. I used standard
nuts during the trial build so as to save the locknuts for the
final assembly. I assembled the frame on 4 wood blocks so as
to elevate the center cross member off the floor. At this point
all bolts are loose. Where part LKO632 &632M are bolted
to LKO656 cross member I used a shorter M6X15 instead of the
longer M6X40 bolt. As the instructions state, triangulate measure
before tightening bolts. Note; this measurement can vary as
much as ¼ inch. The measurements need to be equal so
the frame can be square. Tighten the 8 mm cross member bolts
first, measure again to ;make sure the frame did not shift,
tighten the front cross member and recheck the measurement.
If you were careful the measurements should not have changed.
Tighten the balance of the bolts.
At this point I placed the frame on the springs to see what
things were going to look like.
4.0 Hours
1/12/06
I dismantled the framework in order to send to the powder coater.
1.0 Hours (comes apart quite easy)
1/29/06
Parts back from the powder coater. The framework is black coated.
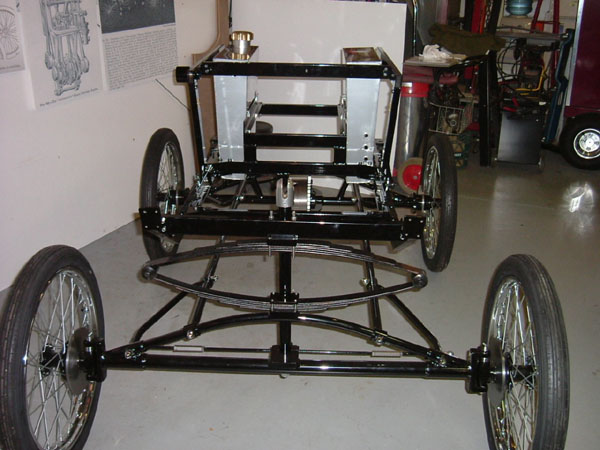
Reassembled the framework as in the trial fit, using the locknuts
and washers supplied. For now the body frame is placed on the
springs to take up less space in the garage and to start Kit
8. Modelworks supplied a new longer steering pin which I installed
now as well.
2.5 Hours
Kit
6 is straight forward and the car is really starting to take
shape. There was very little adjustments required and all the
parts fit quite well. Another great kit from the chaps at Modelworks.
Hopefully
Modelworks will be supplying either extra leaves or new springs
and the hardware in the near future so the body can be permanently
mounted to the chassis.
Kit
8
I
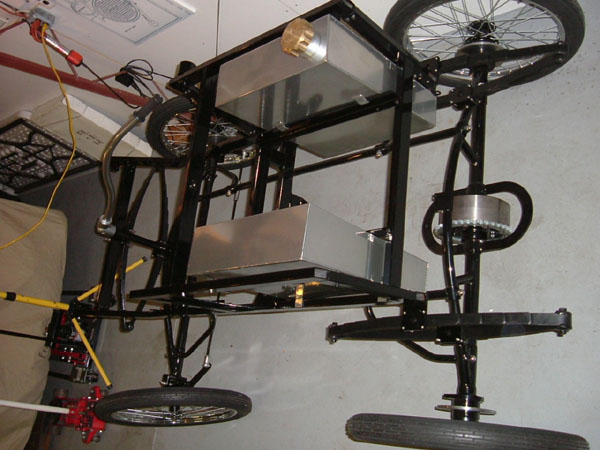
had the water tanks powder coated a nickel/silver color. The
POR-15 product recommended, is their fuel tank coating and sealer.
POR-15 has a complete line of paint coatings and sealers. This
can be obtained from any restoration materials supplier. I get
my POR-15 supplies from Restomotive Laboratories, New Jersey,
800-456-6715, web (www.por15.com).
I'll be coating the inside of the tanks as soon as my order
comes in.
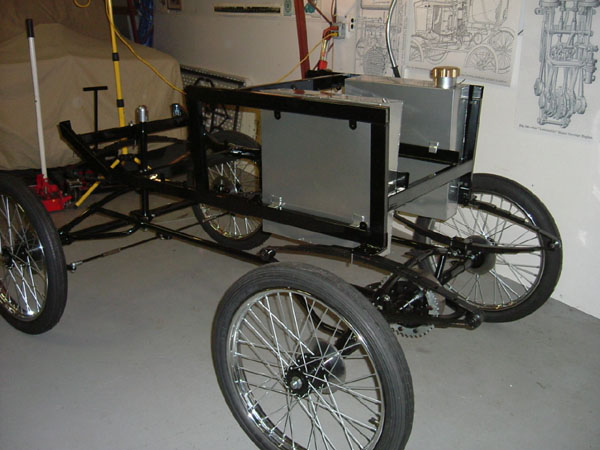
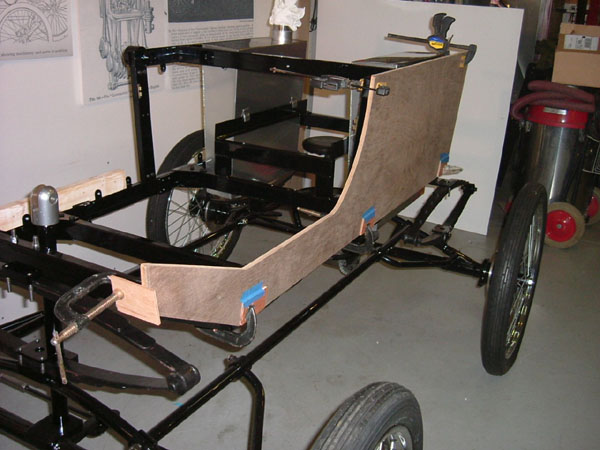
I
clamped the side panels to the framework with some Quick clamps
and C clamps. I cut some scrap wood to protect the wood panels
from getting gouged by the clamps and scratching the frame finish.
I haven't permanently secured the panels to the frame yet, I'm
kicking around an idea to have the side panels removable for
display and service purposes. I'm still working out the attachment
part. Once I figure out what I'm doing I'll post it.
While
waiting for these kits to arrive I came up with a hubcap logo,
I sent off a set to Simon Cast at Modelworks. What do you think?
I
hope you enjoy the pictures. Happy building.
Rick
Click
pictures to enlarge
Likamobile
Home • Kits
One and Two •
Kits
Three and Four • Kits
Four-B and Five •
Caliper Correction
Kits Six and Eight •
Kit
Seven • Kit
Eight • Kit
Nine •
Kit
Ten • Kit
Ten Addendum • Kit Eleven
Kit Twelve •
Kit
Thirteen • Kit Fourteen
• Kit Fifteen •
Year End • Kit
Sixteen • Leaf
Spring Modification
Kits Seventeen / Eighteen
• Engine
Modification • Boiler
Installation • Burner
Installation
Fuel Line, Brake &
Throttle Pedal Installation • Final
Kit • Final Assembly
& Steam Up
Road Test & Modifications
• Purge Modification